Крис Коциопулос (Chris Kotsiopoulos) – фотохудожник, астрофотография
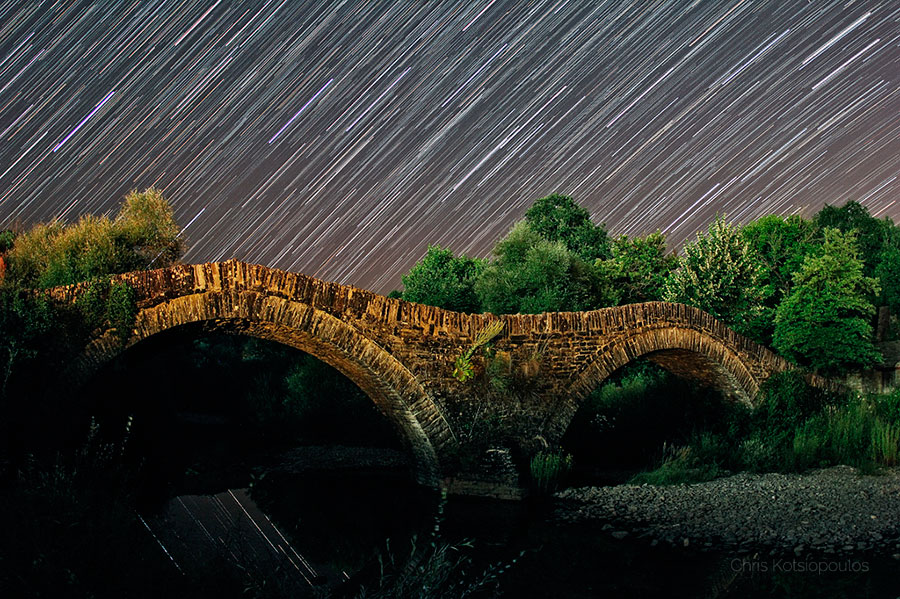
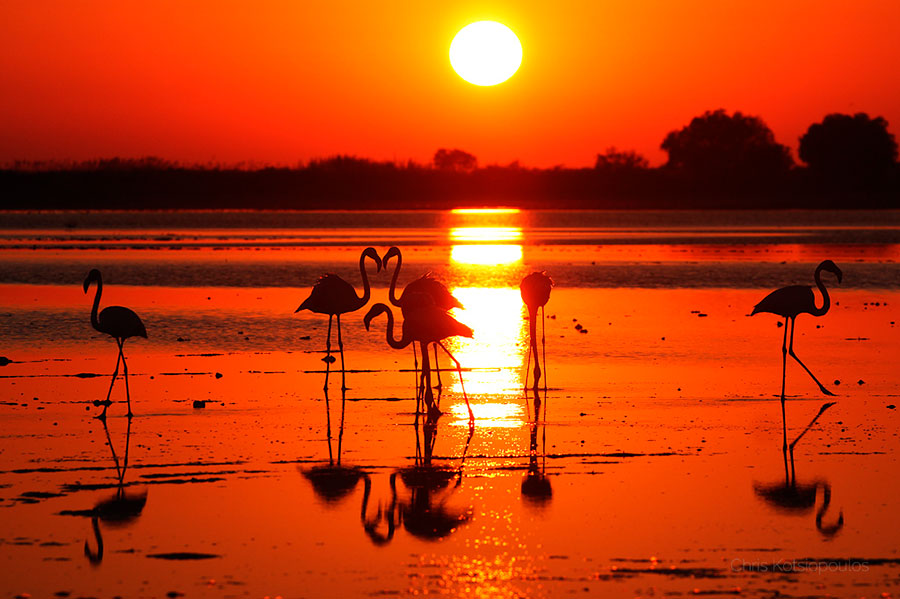
Крис Коциопулос (Chris Kotsiopoulos) создает работы в разных жанрах и стилях, но основным его увлечением является астрофотография. Chris Kotsiopoulos говорит, что за последние несколько лет ему посчастливилось сделать несколько отличных фотографий, считая, что красота и магия ночного неба поднимаются на новый уровень, когда правильно сочетаются с красивым пейзажем. Как считает Крис Коциопулос фотографы, не только захватывают момент, они являются рассказчиками историй, а история мерцающих звезд, самая захватывающая!
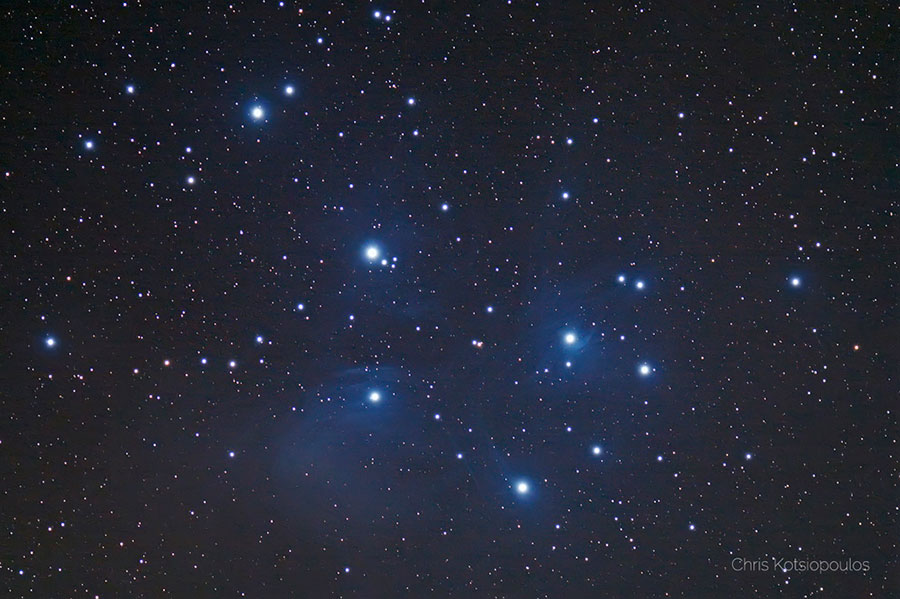
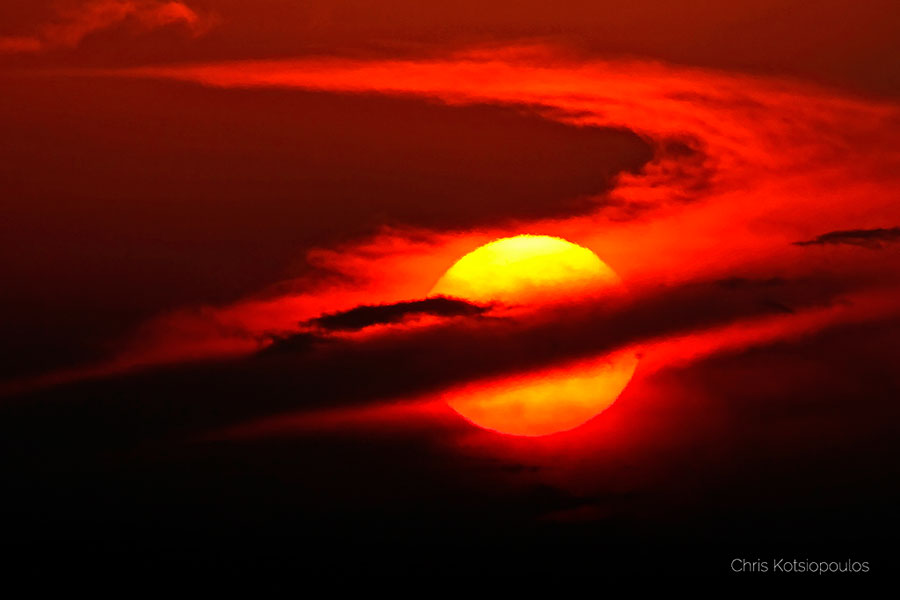
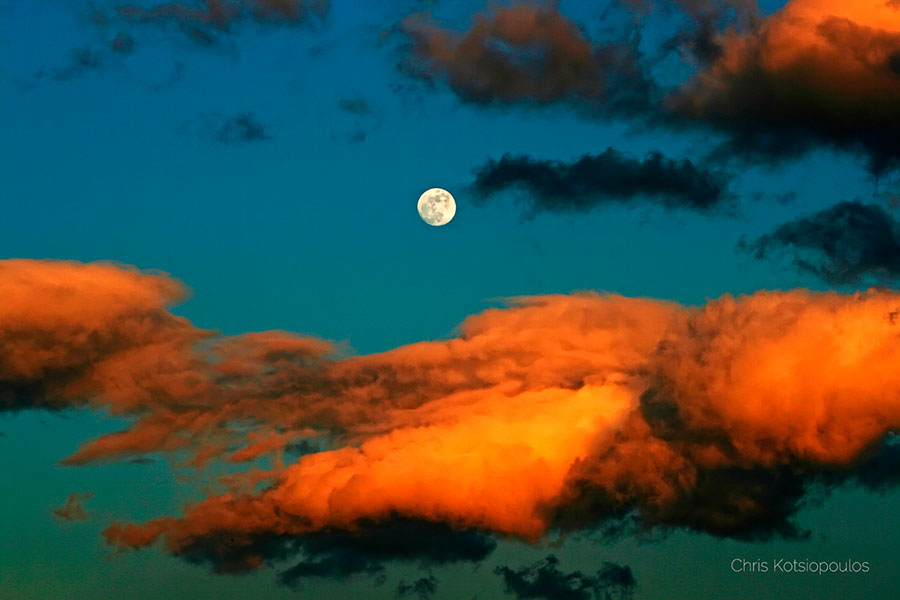
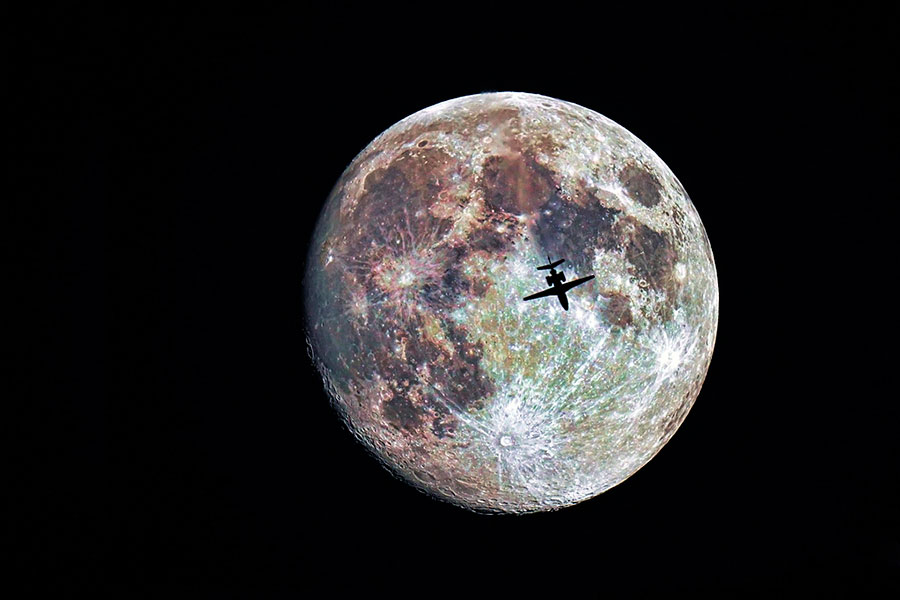
Моя цель состоит в том, чтоб получать удовольствие, быть вне зависимости от погоды, не ощущать холод, особенно в середине ночи, и фотографировать звезды! Луна, планеты, созвездия и Млечный путь — не только любимые фото-цели, но и источник чистого вдохновения. Крис Коциопулос (Chris Kotsiopoulos)
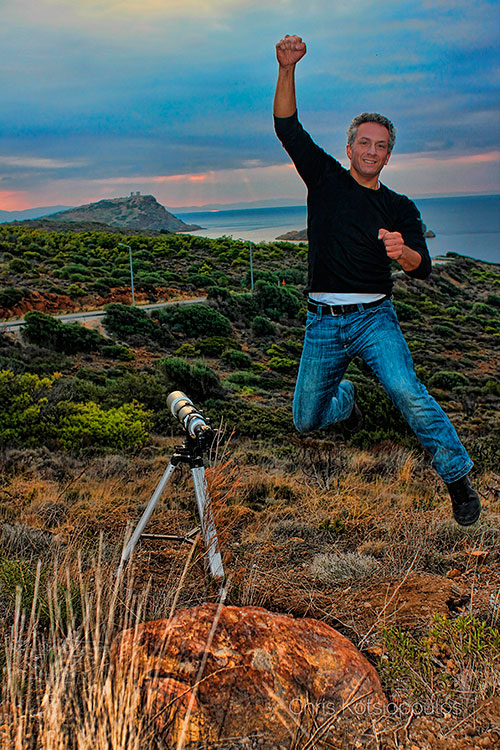
Крис Коциопулос (Chris Kotsiopoulos) родом из Греции (Афины), в настоящее время живёт в г. Рединг, Великобритания. Его работы популярны, как в сети так и в среде профессионалов. Chris Kotsiopoulos также выпустил книгу «Фотография ночного неба» (Night Sky Photography).


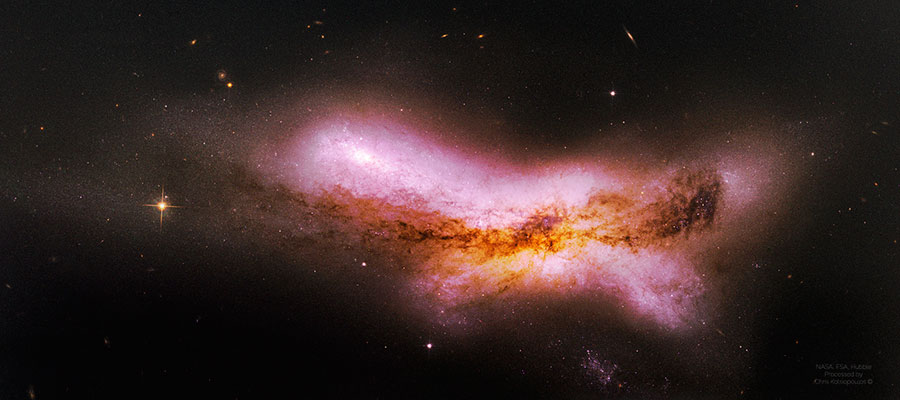
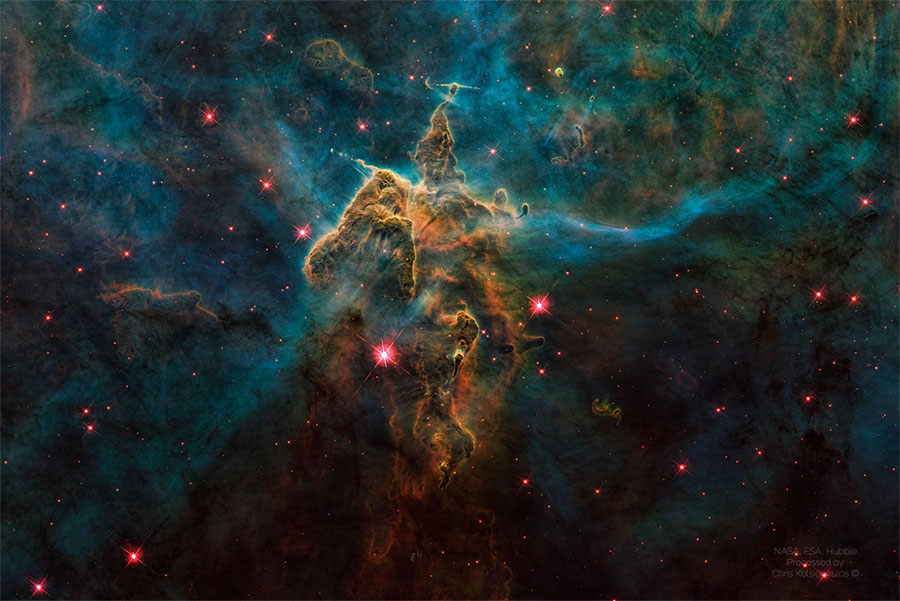
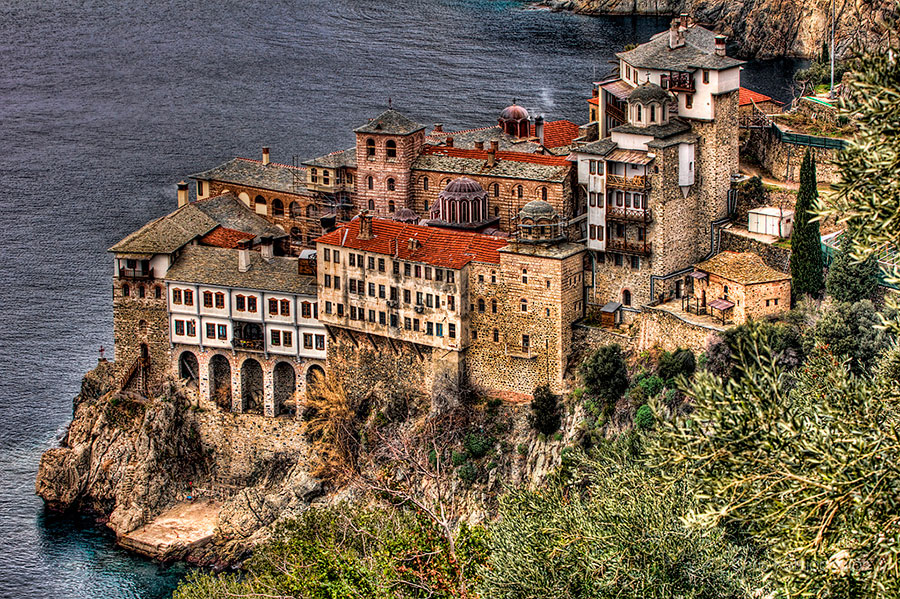
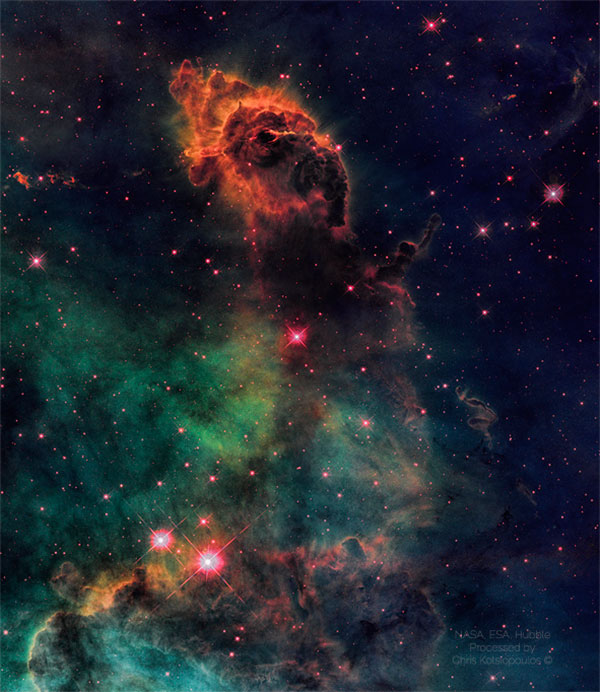
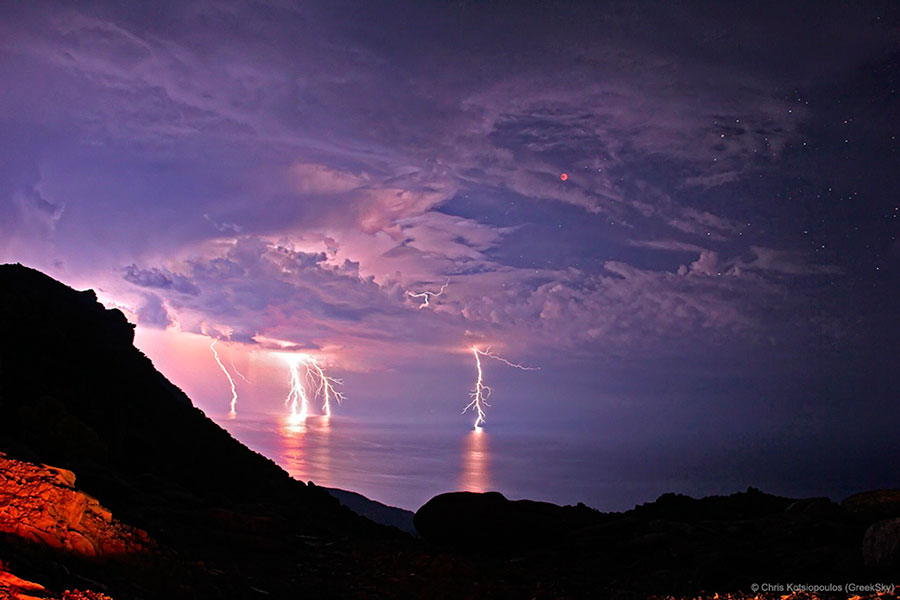
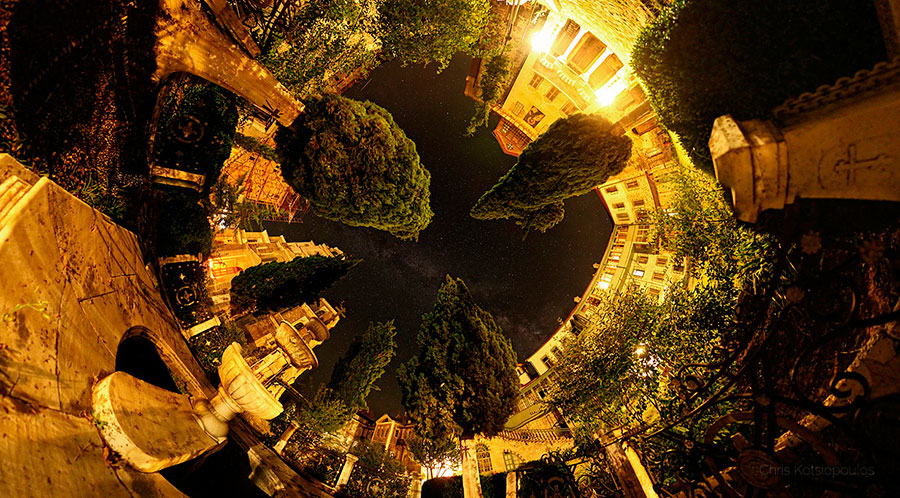
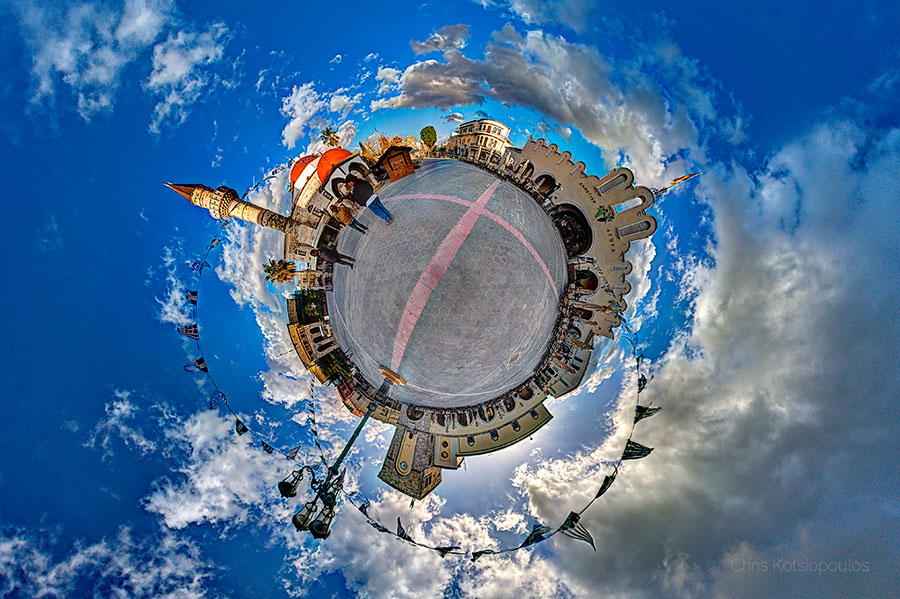
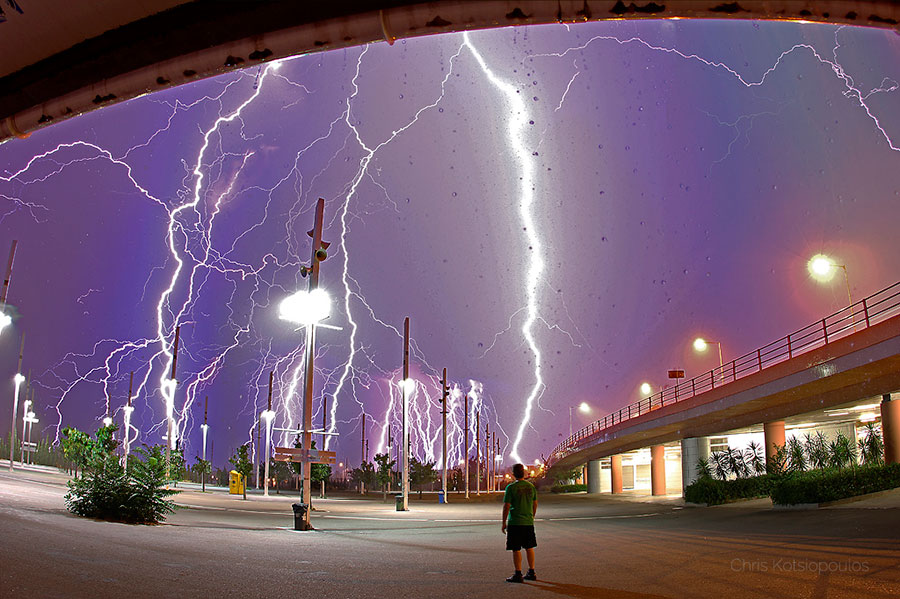
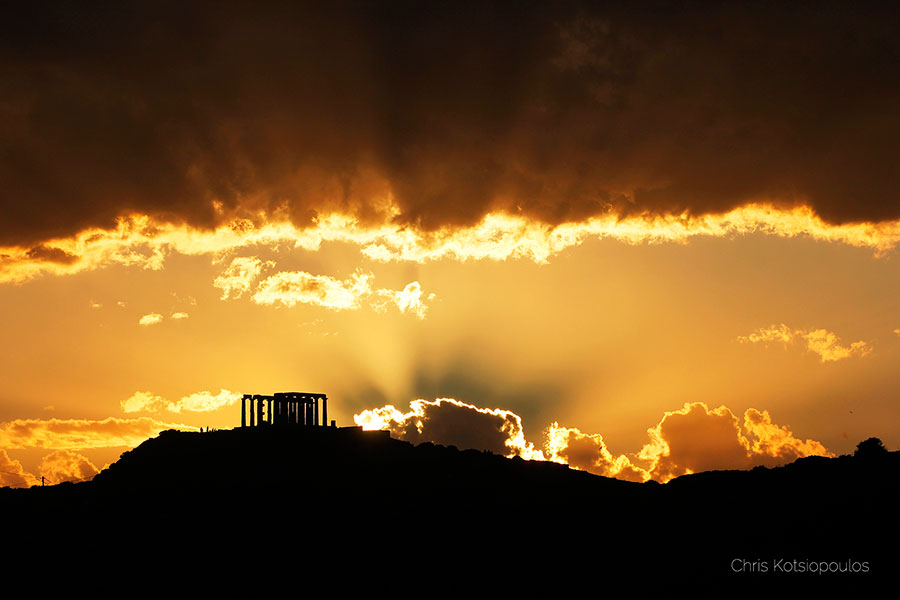
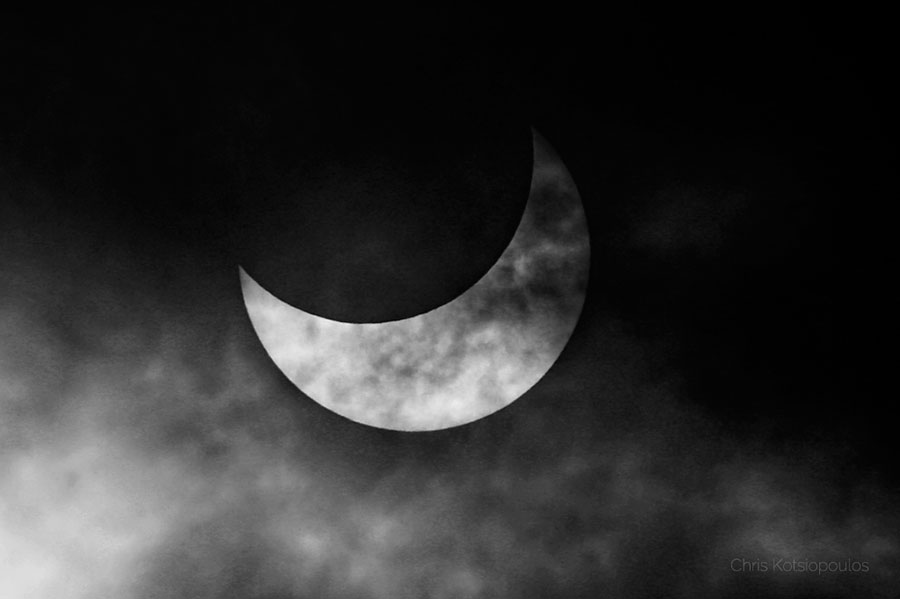
Крис Коциопулос (Chris Kotsiopoulos) создал серии работ, такие как: Храм Посейдона, Молния Фотография, Места поклонения, 360 Фотография, Ориентир Фотография, Космический телескоп Хаббл, Небо и земля, Солнечные и лунные затмения, Планета земля, Фотография Солнечной системы, Астрофотография Deep Sky, Цвета Неба, которые и будут представлены в этой публикации JuicyWorld.org
Chris Kotsiopoulos не только великолепный фотограф но и щедрый учитель. В своем блоге greeksky.gr/nightskyphotography он делиться опытом и дает серию уроков. Вот несколько основных советов, приёмов и рекомендаций
1. Find the place. Typically you will be shooting in nice sceneries away from the city lights that cover the most of the star light (if not all!).
2. Use a sturdy tripod. Night sky photography requires long exposures. Especially if you want to shoot startrails, the camera must be completely still for hours.

3. Use a DSLR and a wide field lens. DSLRs perform better than point and shoot cameras and they give you much more flexibility. I use a crop 1,6 camera (canon 550D) and most of the time I take photos with a 15mm fisheye lens. Have in mind that at night sky photography most of the action takes place at the sky, therefore you should have a wide field of view to include the foreground and a large part of the sky.

4. Prime lenses in my opinion are better. They don’t have the flexibility of a zoom lens but they are generally sharper and faster than zoom lenses. You need a fast lens to capture these nice constellations and the Milky Way.
5. Focus the camera on a distant light, or the Moon and then lock the focus indicator to ‘Manual focus’. If there is no Moon or distant lights you could try to focus on a bright star. This may be tricky. If your camera has a live view, use it. It really helps. If it doesn’t, set the focus manually close to infinity (strangely at DSLR cameras stars do not focus perfectly at infinity…) and then do some try and error attempts adjusting the focus and inspecting the photo until the stars are sharp dots.

6. Adjust the camera settings. One word here. MANUAL! Set everything manually. The typical settings I use are the following:
— Exposure: 20 – 40 seconds. Anything more than 40 seconds introduces star trailing because of the Earth’s rotation. This is fine if you want to shoot startrails but if you intent to take a photo that show relatively round stars you are limited to 30 seconds or even less depending on your focal length. Some indications:
50 mm Lens
-
Star Declination Exposure 0 degrees (on the celestial equator) 8.5 seconds 30 degrees (60 degrees from the celestial pole) 12.5 seconds 60 degrees (30 degrees from the celestial pole) 25 seconds
24 mm Lens
-
Star Declination Exposure 0 degrees (on the celestial equator) 17 seconds 30 degrees (60 degrees from the celestial pole) 25 seconds 60 degrees (30 degrees from the celestial pole) 50 seconds
— ISO 800 or 1600 is a reasonable choice. High ISO introduces digital noise. If you have a low noise full frame DSLR camera you could try even more. With my Canon 550D which is a mid range DSLR most of the time I use ISO 1600. In a light polluted area or in a moonlit scene you will probably use a lower ISO like 200 or 400.
— Aperture. Set it wide open to capture as much photons as you can in the short period of time before trailing start to show. You may want to close it at one stop to get sharper results. So if you have an f/2.8 lens, one stop closed is at f/4.
— White balance. I use Daylight. It doesn’t really mattter if you shoot in RAW format
7. Use an intervalometer or a cable shutter release. The intervalometer is a better option as it allows you to program continuous shots.
8. SHOOT IN RAW FORMAT! This will give you great flexibility at post processing.

9. Charge the batteries. If you plan to shoot startrails have in mind that your camera should operate continuously for hours. In order to create a startrail photo you have to stack a series of images. Also during startrails shooting the camera must remain completely still. If you move the camera even slightly to review a photo or to change a battery your photos will be misaligned and the final result blurry and inaccurate. Using a battery grip that holds two batteries doubles your exposure time. If you want to go further and shoot for hours consider an AC Power Adapter or a big external 12V battery coupled with an adapter cable.

10. Get 2-3 high capacity memory cards. A series of images especially at RAW format can fill your card fast.
11. Dew is one of the challenges of night sky photography. Lens hoods or even dew heaters help a lot.
12. Enjoy shooting!